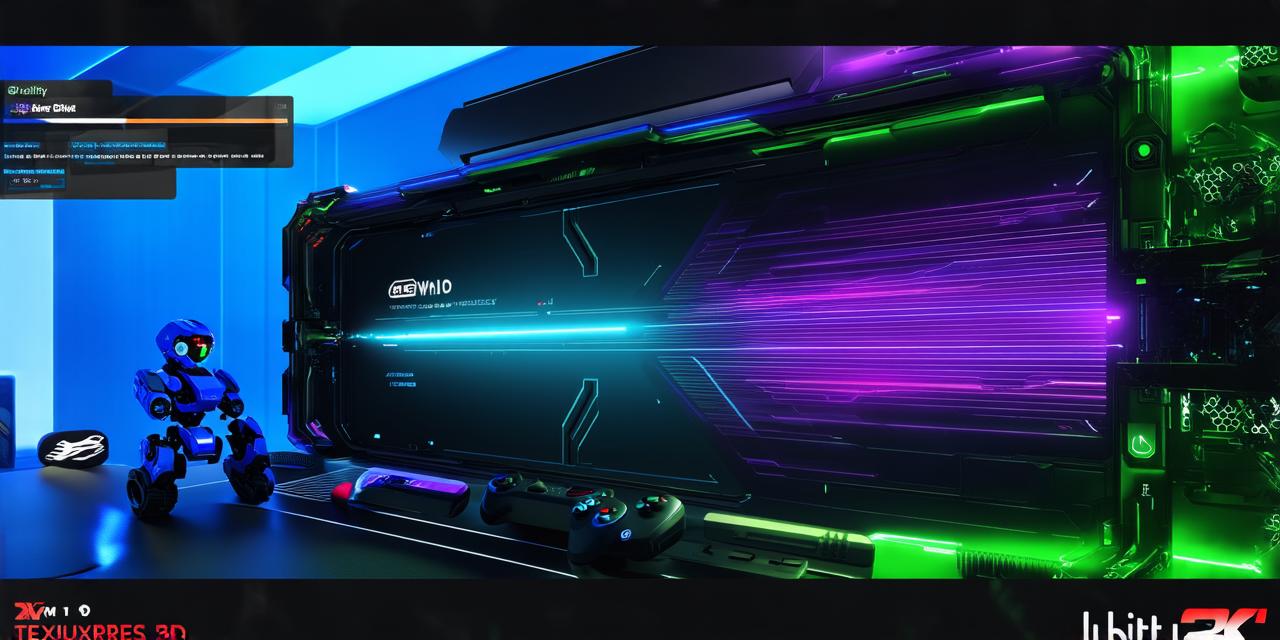
Unity 3D is one of the most popular game engines out there, and for good reason. It’s easy to use, has a large community, and offers a wide range of tools and features that make it easy to create high-quality games.
Before We Begin: Setting Up Your Environment

The first step in creating a game is setting up your environment. This involves installing Unity 3D and setting up your computer to work with it. Here’s what you need to do:
- Install Unity 3D: You can download the latest version of Unity 3D from the official website (https://unity3d.com/get-unity). Follow the instructions provided to install the software on your computer.
- Set Up Your Computer: Once you have installed Unity 3D, you need to set up your computer to work with it. This involves setting up your graphics card, making sure you have the latest drivers installed, and configuring your settings in Unity. To do this, go to the Edit menu and select Preferences > Graphics Settings. From here, you can configure your graphics settings and ensure that everything is working properly.
Creating Your Game Asset: A Step-by-Step Guide
Now that you have set up your environment, it’s time to start creating your game asset. Here are the steps you need to follow:
- Create a New Project: In Unity 3D, go to File > New > Project and select a template for your game. There are several templates available, including 2D games, 3D games, and mobile games. Choose the one that best suits your needs.
- Create Your Scene: Once you have created a new project, you need to create your scene. This involves adding objects to the scene, such as characters, backgrounds, and other elements that will make up your game. To do this, go to the Hierarchy view and click on the “Add” button. From here, you can add a variety of objects to your scene, including game objects, materials, textures, and more.
- Add Scripts: Scripts are an essential part of any game in Unity 3D. They allow you to control how your game behaves and interact with the user. To add scripts to your game, go to Assets > Create > C Script or Assets > Create > JavaScript. From here, you can create a new script and add it to your game objects.
- Add Animation: Animation is another important aspect of creating a game in Unity 3D. It allows you to add movement, sound, and other effects to your characters and objects. To add animation to your game, go to the Animation window and click on the “Add” button. From here, you can create new animations and apply them to your game objects.
- Add Lighting: Lighting is crucial for creating a realistic environment in your game. It allows you to control how light interacts with your scene and add shadows, reflections, and other effects. To add lighting to your game, go to the Lighting window and click on the “Add” button. From here, you can create new lights and adjust their settings to suit your needs.
- Test Your Game: Once you have completed your game asset, it’s time to test it. To do this, go to Edit > Build Settings and select a platform (such as Windows or Mac) and build type (such as WebGL or Standalone). Then click on the “Build” button to generate a build of your game that you can run on your computer or share with others.
Creating Your First Game in Unity 3D: A Step-by-Step Guide
Unity 3D is one of the most popular game engines out there, and for good reason. It’s easy to use, has a large community, and offers a wide range of tools and features that make it easy to create high-quality games.
With its intuitive interface, powerful tools, and vast community support, there’s no better time to start exploring the world of game development.