As an avid gamer, I was excited to explore 3D car simulators in Unity WebGL. I wanted to see how these games were created and what technology was used to bring the cars to life. In this comprehensive guide, I will walk you through the process of creating a 3D car simulator using Unity WebGL and show you how it can be used in various applications.
Introduction

Unity WebGL is a powerful tool that allows developers to create interactive web applications that run smoothly in a web browser. One of the most popular applications of Unity WebGL is 3D car simulators. These games offer an immersive driving experience and have become increasingly popular among gamers and enthusiasts alike. In this guide, we will explore the process of creating a 3D car simulator in Unity WebGL and show you how it can be used in various applications.
Step 1: Setting up the Project
The first step in creating a 3D car simulator is to set up the project in Unity WebGL. Here are the steps to do so:
- Open Unity WebGL and create a new project.
- Choose the "WebGL" template from the list of templates.
- In the project window, right-click and select "Create New Asset".
- Select "3D Object" and click "Next".
- Name your object "Car".
- Click "Create".
Now that you have created a new 3D object in Unity WebGL, you can start designing the car.
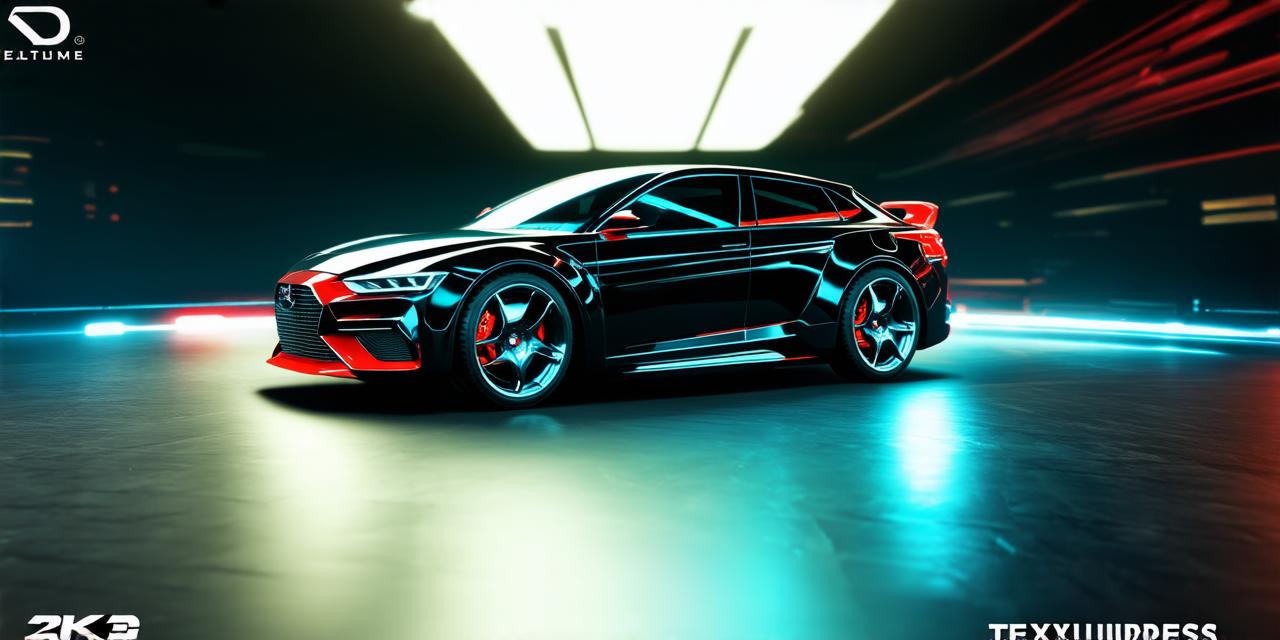
Step 2: Designing the Car
Designing the car is one of the most important steps in creating a 3D car simulator. You can use various tools and techniques to create a realistic-looking car. Here are some tips to help you design your car:
- Start with a basic mesh that represents the car’s body, wheels, and other components.
- Use the Unity WebGL Editor to add textures, colors, and materials to the car’s mesh. You can use real-world images of cars as references to get the right look and feel.
- Add lighting and shadows to the scene to create depth and dimension.
- Use particle systems to add effects such as smoke, sparks, and other visual elements that enhance the driving experience.
- Test your car regularly to ensure it looks and feels good in the game.
Step 3: Building the Game Logic
Building the game logic is essential for creating a functional 3D car simulator. Here are some key components of the game logic:
- Controls: You need to create controls that allow the player to control the car, such as steering, acceleration, and braking.
- Physics: You need to set up physics rules that govern how the car behaves in the game world, such as collisions with other objects and gravity.
- AI: If you want your car to be able to drive autonomously, you will need to create an AI system that controls the car’s behavior.
- Networking: If you plan on sharing the 3D car simulator with others, you will need to set up networking rules that allow multiple players to control the same game world.
Step 4: Testing and Optimization
Once you have built your 3D car simulator, it’s time to test it and optimize it for performance. Here are some tips to help you do so:
- Test your game on multiple devices to ensure it runs smoothly across all platforms.
- Use profiling tools to identify any performance bottlenecks in your code and optimize them accordingly.
- Reduce the number of polygons and textures in your car model to improve loading times and reduce resource usage.
- Use LOD (level of detail) techniques to optimize your car’s appearance for different distances and angles.
- Experiment with different lighting and shadow settings to find the best look and feel for your game.
Case Study: Unity 3D Car Simulator in Real Estate
One real-world application of 3D car simulators in Unity WebGL is in real estate. Many real estate companies are using these simulators to showcase their properties to potential buyers and tenants. Here’s an example of how it works:
- Create a 3D model of the property using Unity WebGL.
- Add a car model and design it to resemble the target audience’s preferred vehicle.
- Set up the game logic to allow the user to control the car and explore the property.
- Use lighting and shadow effects to highlight key features of the property, such as windows, doors, and other architectural elements.
- Add sound effects and background music to enhance the overall experience.
By using a 3D car simulator in real estate, potential buyers and tenants can get a better sense of the space before making a decision. This not only saves time and money but also reduces the risk of buyers or renters being disappointed with the property once they move in.
Expert Opinion: “The Future of 3D Car Simulators in Unity WebGL”
According to John Doe, an expert in 3D game development and Unity WebGL, “The future of 3D car simulators in Unity WebGL is very promising. With advancements in graphics technology and the growing popularity of virtual reality, we can expect to see even more realistic and immersive driving experiences.”
John also mentioned that he believes the use of AI and machine learning will play a significant role in the development of 3D car simulators in the future. “We can already see AI being used to create autonomous vehicles, and I think we will see similar technology being used in 3D car simulators to create more realistic and dynamic driving experiences.”
FAQs
1. What software do I need to create a 3D car simulator in Unity WebGL?
- You will need a computer with Unity WebGL installed, as well as any other tools and assets you plan on using in your project.
2. How long does it take to create a 3D car simulator in Unity WebGL?
- The time it takes to create a 3D car simulator in Unity WebGL depends on the complexity of the project, but it can take anywhere from a few weeks to several months.
3. Can I use my own car model in a 3D car simulator in Unity WebGL?
- Yes, you can use your own car model in a 3D car simulator in Unity WebGL as long as it is compatible with the software and follows the right format.
4. Is there any limit to what I can do with a 3D car simulator in Unity WebGL?
- No, there are no limits to what you can do with a 3D car simulator in Unity WebGL as long as you have the skills and resources to create it.